Here's a little Photoshop trick that I occasionally find very handy.
Suppose you've got two or more photos of a given thing, none of which are properly lit. The right side is nicely illuminated in Photo One, but the left side is too dark. And the left side's OK in Photo Two, but in that one the right side is too dark.
You don't want to, or physically can't, go back and photograph the thing again.
Or perhaps the light there is never going to be any good, for reasons of geography, geometry or just the fact that you can't afford six flashes.
I ran into this just now when I was taking pictures of a ludicrously cheap network storage box I'll be writing a bit about shortly.
UPDATE: I've written the review now; it's here.
(In brief: It's a Noontec N5, and m'verygoodfriends at Aus PC Market are selling it for only $AU25 if you buy it along with a drive. And no, the drives are not overpriced to compensate. So all this thing is going to have to do to get a good review from me is, one, function, and, two, not send death threats to Barack Obama with my signature on them.)
One of my pictures of the shiny white box - which, of course, immediately tractor-beamed some cat fluff onto itself - looked like this:
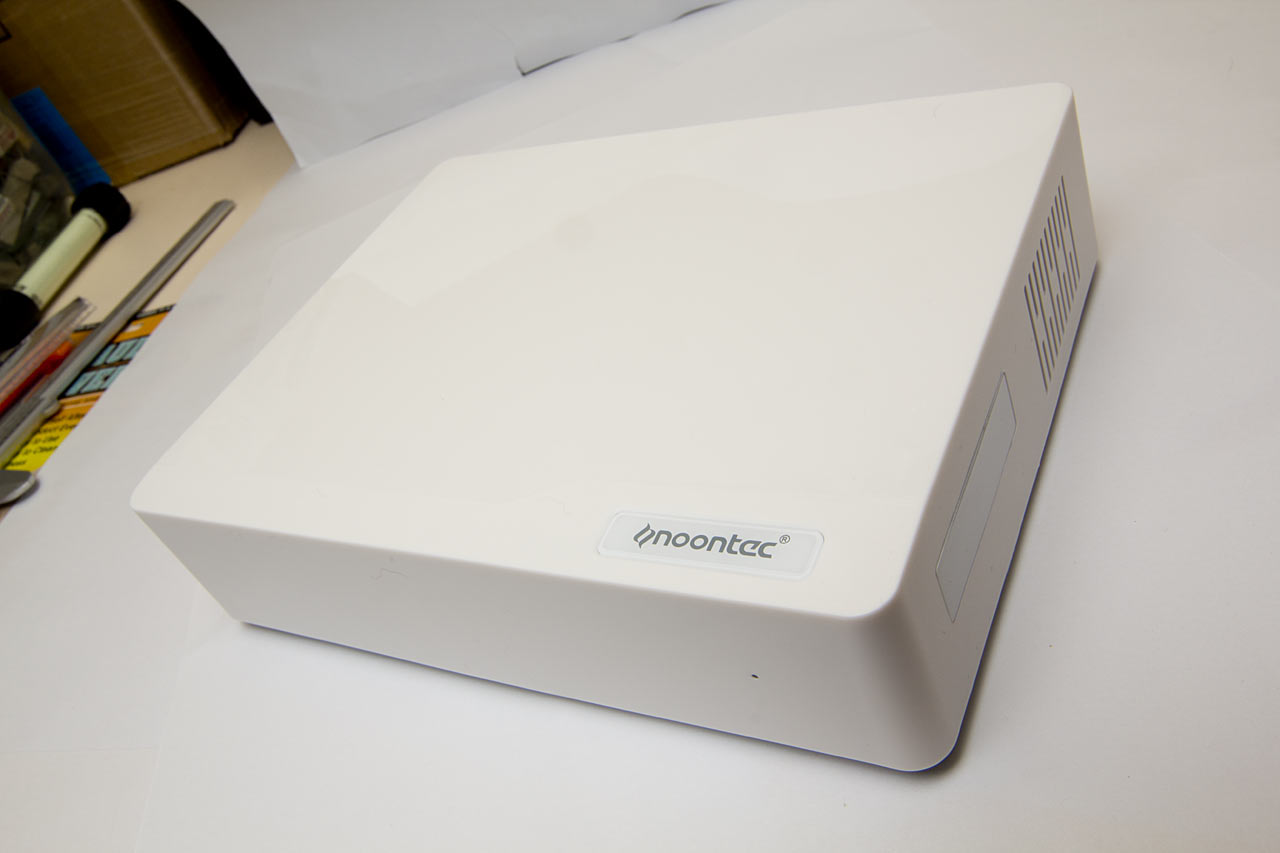
Right side too dark.
Another looked like this:
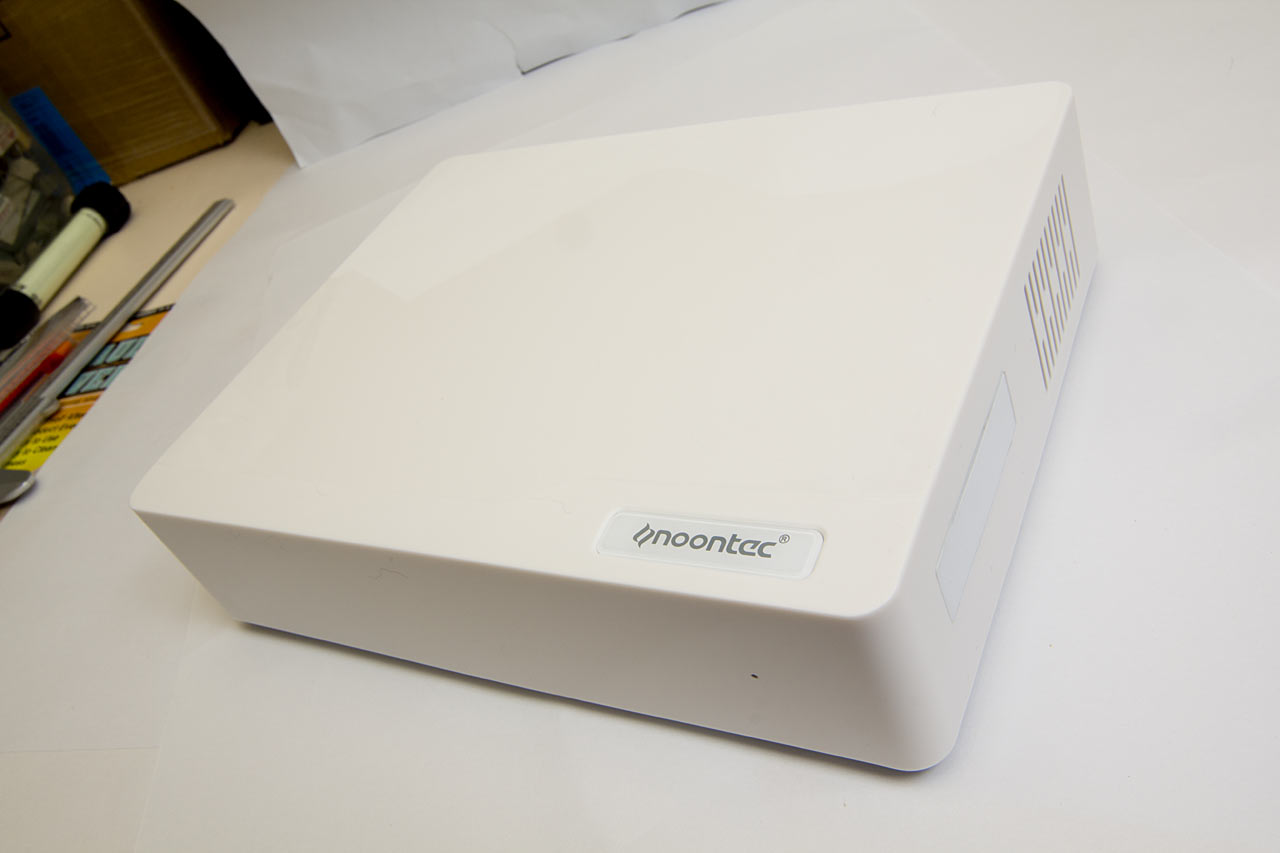
This time the front was too dark.
I could have reshot the image easily enough, but the Photoshop fix is faster. It's easy, too, as long as the images are pretty much identical except for the lighting. I'll talk about how to do it in Photoshop, but any imaging program with some equivalent of Photoshop's layers and blend modes can do it.
First, paste one image over the other, and set the opacity of the top image's layer to 50% or something, so you can see through it to line the two images up exactly.
(Lousiness of alignment exaggerated for illustrative purposes.)
You may not need to do this at all, but even when you're shooting with a tripod, it's common for successive images to be misaligned by a pixel or two. It may be impossible to perfectly align the images if they're off by some fraction of a pixel, or if perspective means they're off by different amounts in different locations. Just try to get the important parts of the overlapping image combination to look as sharp as possible.
Now, set the opacity of the top image back to 100%, and set its blend mode to "lighten".
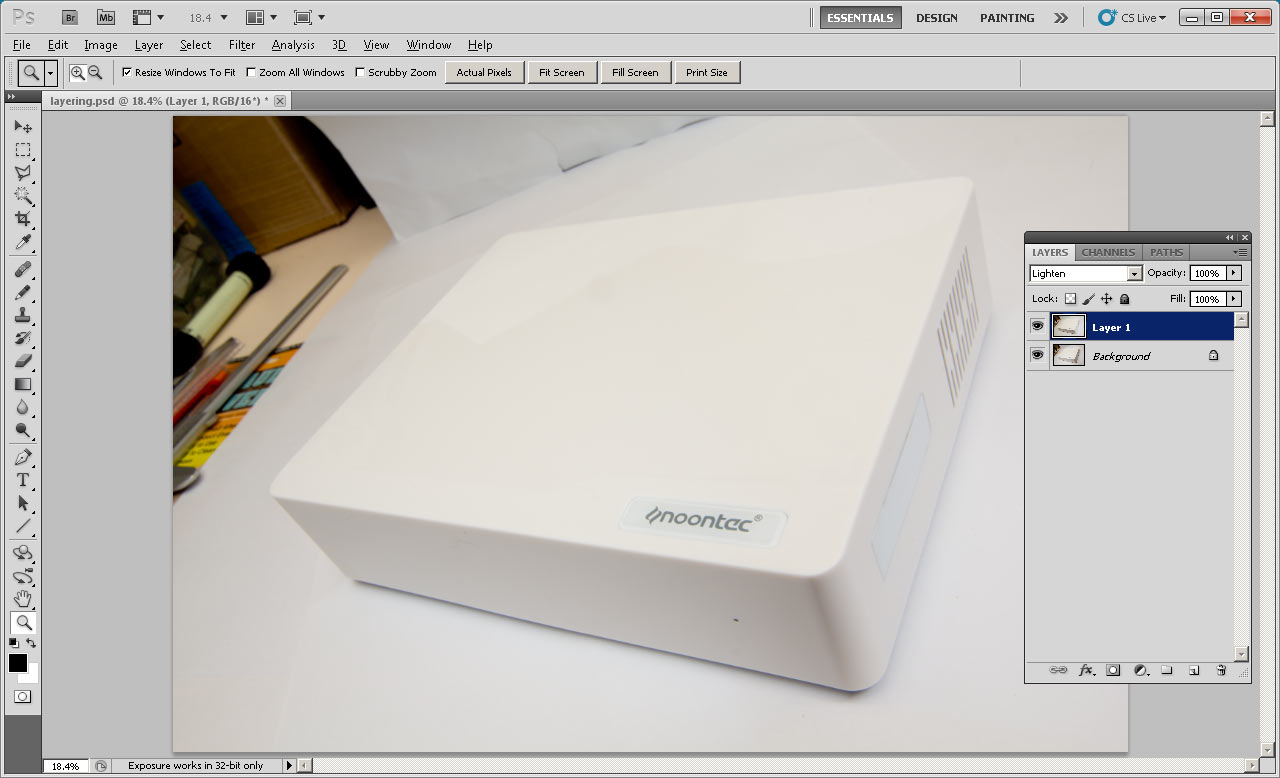
And you're done!
"Lighten" simply makes any pixel in the top layer opaque if, and only if, it's brighter than pixels in lower layers. So if you're combining images of the same object lit in different ways, you get a result that looks as if everything that illuminated the object in all of the images was illuminating it for just one photo.
I seldom set out to use this technique, but it's definitely not just a bad-photo-salvaging trick. If all you've got is one flash, for instance, you could take a string of pictures with the flash aimed and reflected and diffused in different ways, and then combine some or all of them to get the same effect as a bunch of simultaneous flashes, or a beauty-dish reflector, or a big studio flash with a large soft box, or J.J. Abrams and his Travelling Lens-Flare Circus.
You could also use this technique on video frames, sequential light-painting photos, and perhaps for astrophotography too. Any series of images you can shift and warp to pretty much line up with each other will work.
You could even use it to vanish dirt, dust or even insects on a thing you're photographing but can't properly clean. Take a shot, blow the dust around a bit, take another, combine with Lighten if the dust is darker than the object or with Darken if it's lighter.
(Even more complex blend-mode tricks involving lighting of different colours also suggest themselves.)